It's been a rough week - I had a career-related stumble that left me feeling a little bit like a failure. When life has me down - when I need to remind myself that I am not, in fact, a failure - my solution is to turn to something I'm good at. And one of those things is baking bread.
A few years ago, I got a copy of Artisan Bread in Five Minutes a Day as a gift. I use the base recipes from this book, but over the years I've tinkered with them a little, to make them even easier to bake.
One of my changes is to make everything in a loaf pan - I don't have the space and I don't want to spend the money on the pizza peel and baking stone they recommend. So I don't usually make freeform loaves, but all reviews point to the bread tasting just as delicious.
Standard Loaf
This bread turns out a little dense and chewy - it's perfect for serving alongside a soup or stew, but too thick to use for sandwiches.
Note: This recipe makes enough for two loaves. The idea is to mix the dough, then store it in the refrigerator until you're ready to bake. The mixing really does only take about five minutes, and the prep on baking day takes less than that.
- 3 cups lukewarm water
- 1-1/2 Tbsp granulated yeast (2 packets)
- 1-1/2 Tbsp salt
- 6-1/2 C unbleached all-purpose white flour
You can warm the water slightly if you want a faster rise, but since this dough is going to be stored, tepid water should be fine.
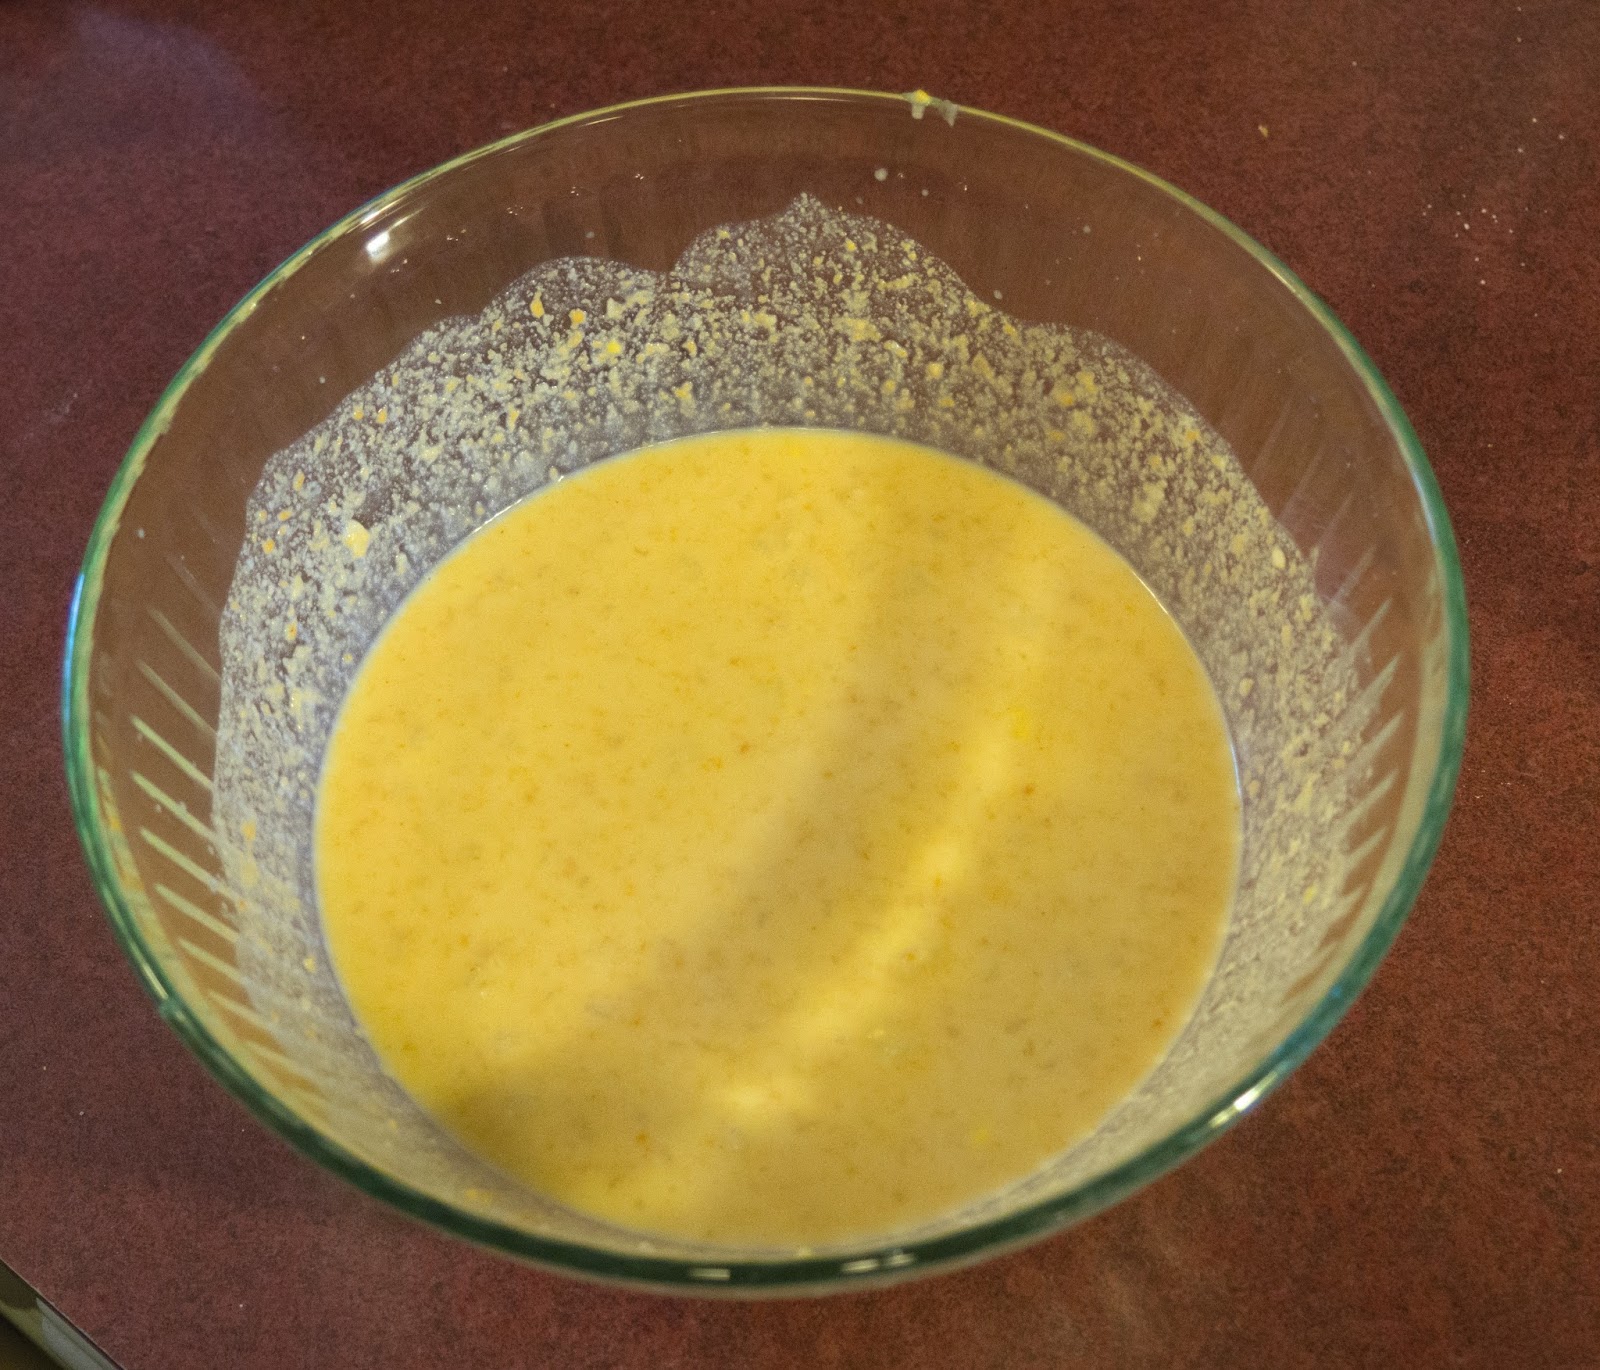
In the bowl of a stand mixer, combine the water, yeast, and salt. Mix slightly, but don't worry about getting it all to dissolve.
Add all of the flour, and with a dough hook attachment on the stand mixer, mix until all the ingredients are uniformly incorporated.
That's it (at least for this part)! Cover with a lid or clean cloth and let the dough rise for at least 2 hours. A longer rise time is fine too; I've let mine rise as long as 4-5 hours - it doesn't need babysitting.
After this initial rise, store it in the refrigerator overnight. I usually transfer it from the mixer bowl to a plastic container that's been sprinkled with flour, to make the dough a little easier to pull out on baking day.
Speaking of baking day: When it's time to bake, use a serrated bread knife or kitchen shears to cut out half the dough. Dip your fingers in some flour to make the dough handling a little easier. Gently shape the dough by rotating and turning it under on itself until you've formed a smooth ball. (Actually, the top will appear smooth, but the bottom will look like a little squashed as the turned-under ends mash together - that's fine, that's how it's supposed to look, and I apologize for not having a picture.)
Drop this dough ball into a greased loaf pan. The pan I use is a standard 1.5 qt., 9"x5" Pyrex dish, but I think any loaf pan in that general range would be fine - the size really doesn't matter, as long as the dough isn't spilling over. Also, I have tried olive oil and Earth Balance to grease the pan, but my favorite solution is Trader Joe's coconut oil spray.
Let the dough rise for about 40 minutes. While it's rising, go check Amazon for that coconut oil spray - it's seriously pretty amazing. I use it for anything I do that involves frying, sauteing, etc.
About 20 minutes out, preheat the oven to 450F. On a lower shelf in the oven, place an empty pan with high enough walls to hold some water. Just before baking, the book recommends dusting with flour and cutting slashes across the top of the loaf with a serrated knife, but I usually skip the extra flour and just snip with kitchen shears.
Once the rise is finished, you're ready to bake. Slide that loaf pan into the oven (on a top or middle shelf), pour about a cup of water into that pan at the bottom, then shut the door and walk away.
Bake for about 30-45 minutes. The water in the lower pan is going to create steam that will give your loaf a nice crackly crust. Keep an eye on that crust - you're looking for a medium brown color and firmness to the touch.
The first standard loaf, just out of the oven:

A tear in the crust, from being in the loaf pan?

A nice, dense bread on the inside:

Soft Sandwich Bread
This recipe also makes enough for two loaves. The biggest difference is the addition of Earth Balance (you can use real butter if you're so inclined) and bread flour.
- 3 cups lukewarm water
- 1-1/2 Tbsp granulated yeast (2 packets)
- 1-1/2 Tbsp salt
- 2 Tbsp sugar
- 1/2 C (1 stick) Earth Balance, softened
- 7 C bread flour
Mix everything but the flour in a stand mixer with a dough hook. Add all the flour at once and mix just until everything is incorporated. Let the dough rise, covered, for 2+ hours, then transfer to a lidded plastic container to refrigerate.
When it's time to bake, use the same process as mentioned above: Cut out half the dough. Dust your hands with flour and gently shape the dough into a smooth ball. Drop this dough into a greased loaf pan and let it rise - this time for an hour and 45 minutes.
About 20 minutes before the end of rise time, preheat the oven, this time to just 350F.
You can slash/snip the top of the loaf if you want to. I've tried it both ways, with no noticeable difference in quality. Also, note that you'll be skipping the steam tray here. This is going to be sandwich bread - soft and fluffy, not crunchy and chewy.
Bake for at least an hour, but keep an eye on the crust. The book calls for 45 minutes, but my first loaf at that time was very much underbaked. Now I set my timer for an hour and make sure the crust is at least golden before I pull it out.
My first sandwich loaf before going into the oven, snipped across the top:

Underbaked - this crust is much too light:

It's hard to see in these photos, but there are some unbaked spots at the center of the loaf:


The second sandwich loaf, a slightly darker crust (this is after baking for a full hour):


Fully baked on the inside (this bread is a lot softer than the first recipe - it's fine on its own for sandwiches, but I find I prefer toasting it slightly to firm it up):